In Tutorial 3, you saw how having a
default model in your task enabled you to do automated tagging in the
UI after you build a model. In this tutorial, we're going to explore,
briefly, the Web demo capability which sometimes also depends on the
default model.
In this tutorial, we're going to make use of the models we build in
Tutorial 2.
See the documentation on starting the Web
server and starting the UI.
When you define a task, you can also define a file called demo.xml
which describes a demo of your task. In addition to the default URL for
the annotation desktop, for each task which has a demo.xml file the Web
server makes available the URL
http://localhost:7801/tasks/<lastpathcomponent>/demo, where
<lastpathcomponent> is the last path component of the path to
your task. That is, if your task is located in the /path/to/mytask
directory, <lastpathcomponent> will be mytask.
For the sample task, found in MAT_PKG_HOME/sample/ne, you'll surf to
http://localhost:7801/tasks/ne/demo.
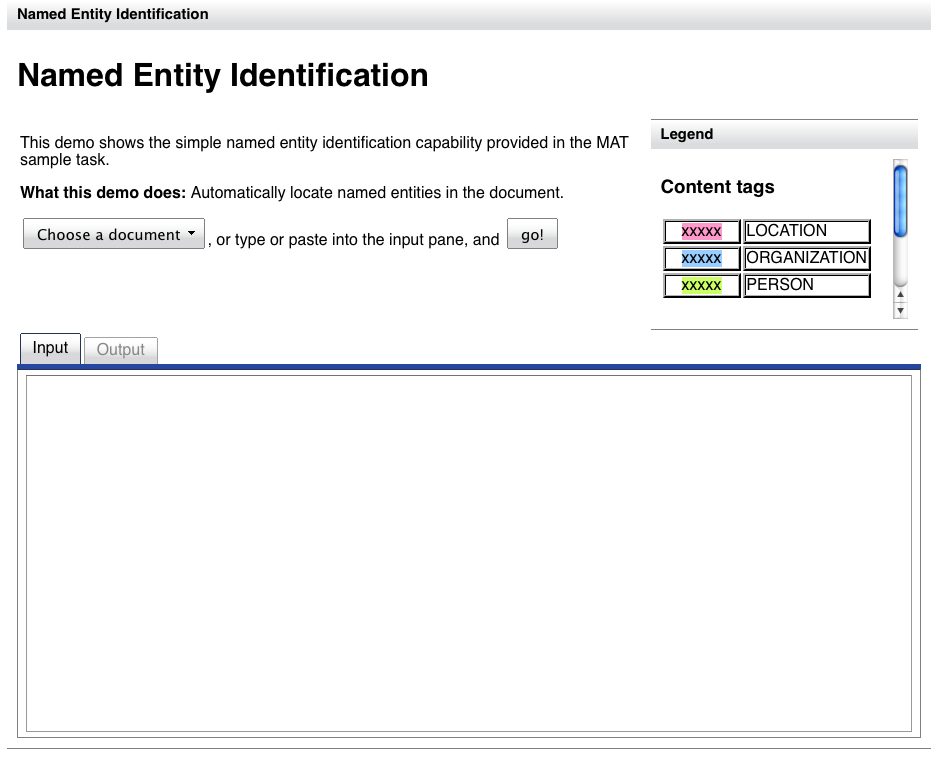
You'll see a window like this:
This demo gives you the option of selecting a file to tag from a
list, or of typing in some text.
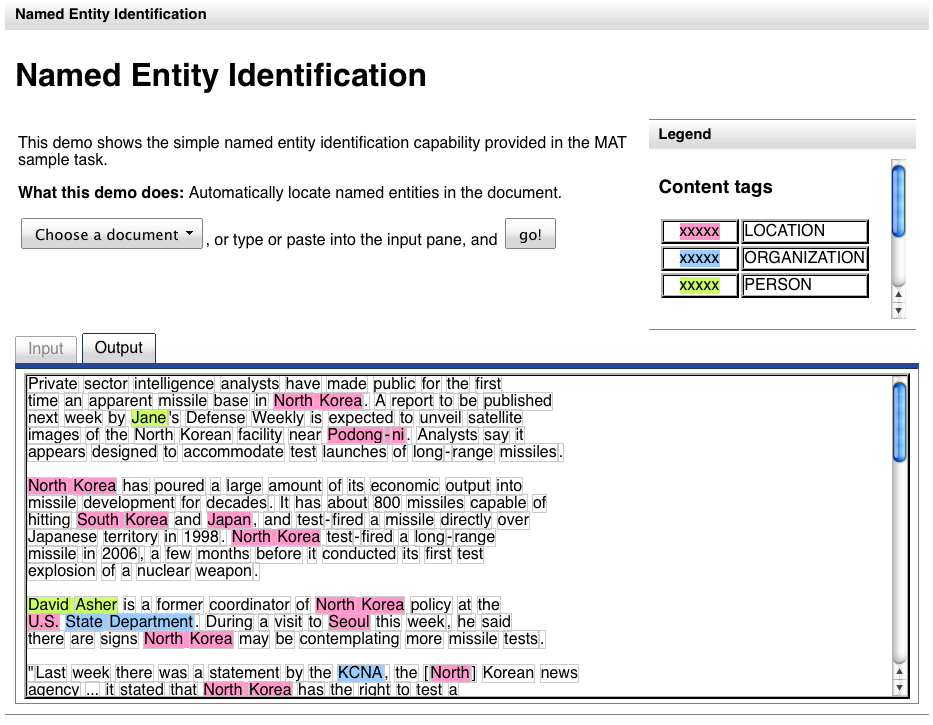
Toggle between the "Input" and "Output" panes to compare the raw and
tagged documents.
If you're not planning on doing any other tutorials, and you don't
want the "Named Entity" task hanging around, remove it as shown in the
final step of Tutorial 1.