The Web UI that comes with MAT is a rich, logging-enabled tool for
viewing, processing and annotating your documents. We describe how to
use it here.
We assume that you've started the Web
server and the UI.
Note: because of its current implementation, the UI can become extremely sluggish with large files. We have found that ~100K is the practical limit for raw documents given current browser and JavaScript implementations.
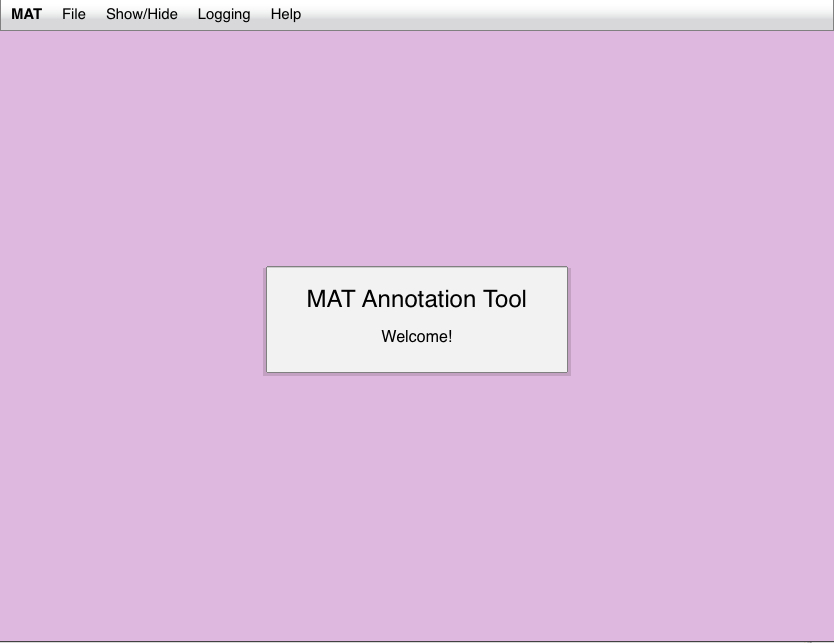
The initial UI screen displays a greeting, and is then blank except
for the background and the top
menubar:

The menubar has five elements:
The file menu looks like this:

The three things you can do from this menu are:
Each of these operations brings up a dialog so you can proceed.
The show/hide menu looks like this:
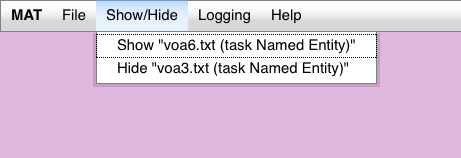
This menu is initially blank. It lists all windows which have been
opened and not closed. If the window is currently visible, the menu
presents an option to hide that window; if the window is currently
hidden, the menu presents the option to show that window. The show/hide
menu is the only way to show a hidden window; to hide a visible window,
you can use this menu or select the "-" icon in the upper right corner
of the window.
The logging menu looks like this:
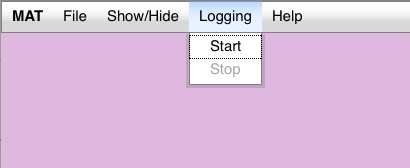
If logging is not started, "Start" will be enabled but not "Stop";
once "Start" is selected, "Stop" will be enabled but not "Start",
until "Stop" is selected. When "Stop" is selected, the browser
downloads a CSV log of your interaction whose format is described here.
When you select "File -> Open file...", you'll be presented with
the following dialog:
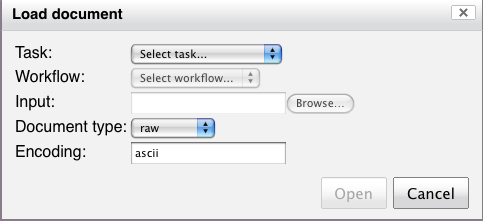
The "Task" menu will be active, and the "Workflow" and "Input"
elements will be disabled. Once you select an item from the "Task"
menu, the "Workflow" menu will be enabled; once you select a workflow,
the "Input" element will be enabled. If MAT knows of only one element
for either the task or the workflow, those elements will be
automatically selected for you.
Select the appropriate document type and encoding for the document.
If the document is a raw document, select "raw" from the "Document
type" menu; otherwise, select "mat-json" for rich annotated documents
(other document types may also
be available).
The encoding for MAT JSON documents will be fixed as utf-8. Once you've
filled out the appropriate elements, the "Open" button will be enabled:
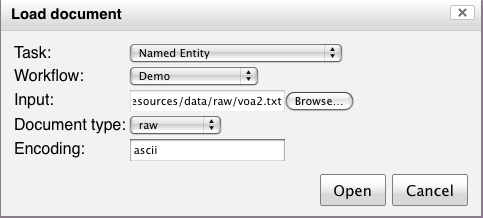
If you press the "Open" button, the dialog will vanish and you'll see a document window.
The document window looks like this:

The title bar of the document window contains the basename of the
document, along with the task associated with the document window, in
parentheses. At the right end of the title bar, there are two icons.
The
"-" hides the document, and the "x" closes it; you can make a hidden
document visible again using the show/hide
menu. You can move the document window around the desktop by
clicking left on the title bar and holding down the mouse button; the
mouse icon should become a hand. You can resize the window by selecting
and dragging the three diagonal lines in the lower right corner.
Immediately below the title bar, the "Workflow" menu allows you to
change the
workflow.
Immediate below that menu is the "Status" line, which contains each of
the
steps in the workflow; steps which are finished will be grayed out. To
the right of the status
line
are three buttons:
Below the status line, on the left, you see a document pane
containing the
document; on the right, you see a tag legend. Above the document pane,
you see two buttons: "Save mat-json" and "Save raw". If the document
you loaded is a raw file, "Save raw" will be disabled. If you press one
of these buttons, the browser will download and save the appropriate
version of the file you're currently viewing.
At the bottom, there's a
tagging
status line which provides information about tagging; in the image
above, it says "Hand annotation unavailable".
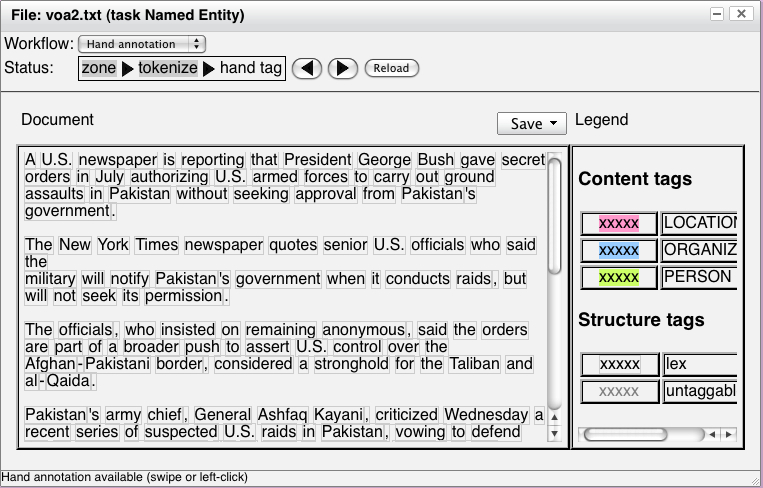
Whenever the tagging status line reads "Hand annotation available
(swipe or left-click)", you may edit the content annotations for your
document.
To add an annotation, either swipe or right-click in the document
text where there are no content annotations. Swiping selects a range of
tokens; right-clicking selects a single token. In this example, we've
swiped:
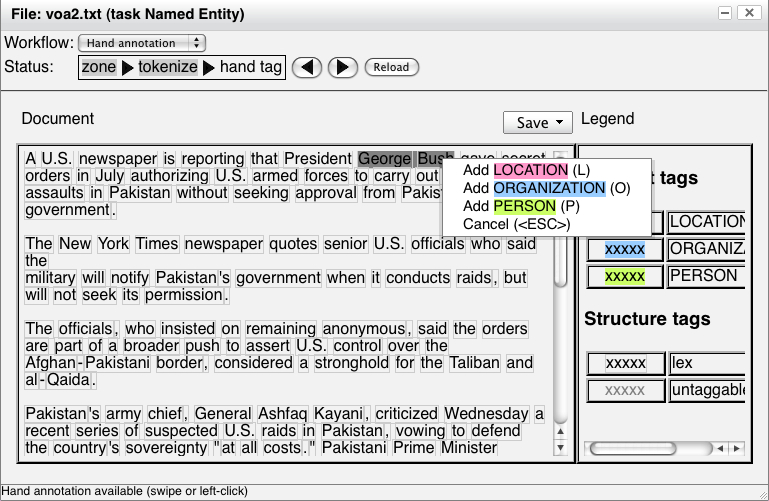
The annotation menu pops up automatically. In this example, where
the text is previously unannotated, the menu contains, for each content
annotation, the option to add that annotation. The menu items are
styled with the same CSS that the resulting annotation will be styled
with. Optionally, the menu may present a keyboard accelerator; here, if
you press "P" when the menu is visible, it's identical to selecting
"Add PERSON" from the annotation menu. The result is shown here:
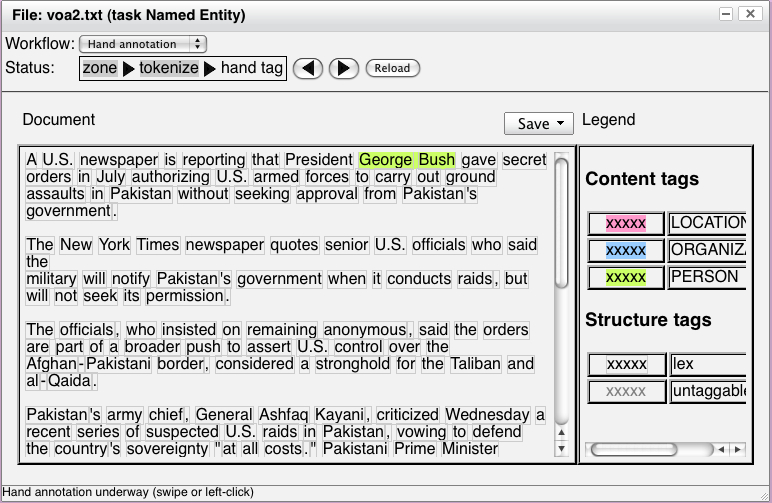
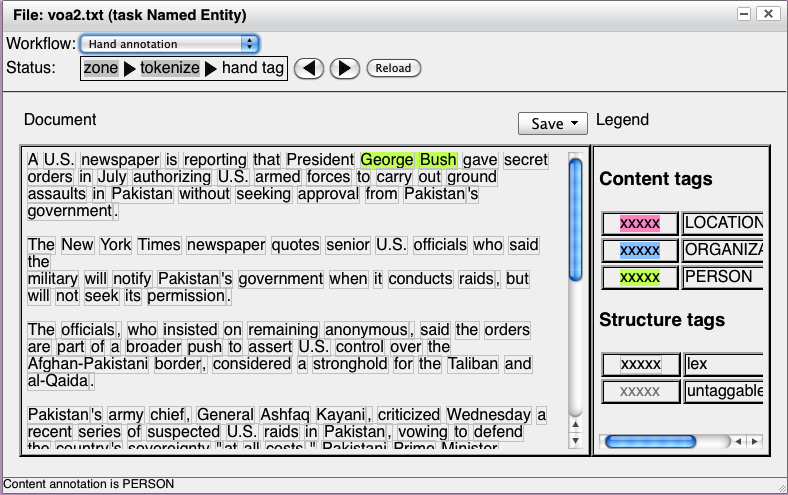
Note, too, that now that the first annotation has been added, the
tagging status line reads "Hand annotation underway" instead of "Hand
annotation available". If you place your mouse over the annotation
you've added, the tagging status line changes to show the name of the
annotation:
And now that you've added an annotation, your annotation popup will
provide the option of repeating the last annotation. If, say, you move
on to annotate "Pakistan" as a location in the third line, and then
make another selection, you'll see "Repeat LOCATION" as an option in
your annotation popup:
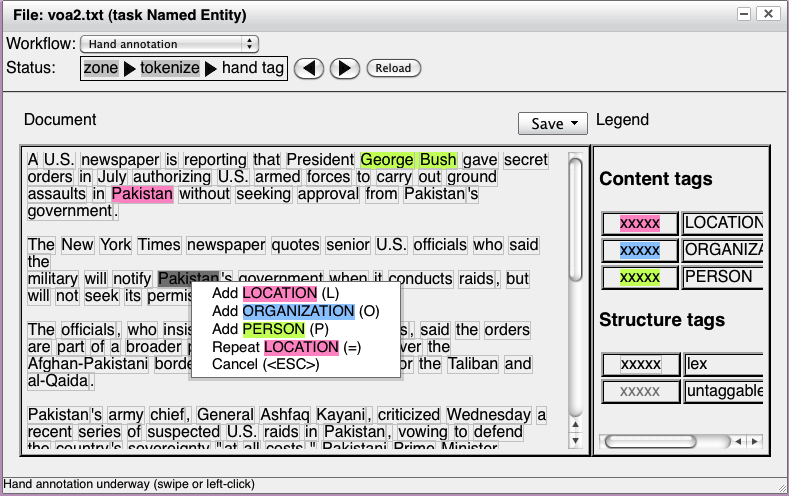
Note that this option always has the keyboard accelerator "=". So in
this case, you can mark this next occurrence of "Pakistan" as a
location either by pressing the "L" or "=" keys, or by selecting "Add
LOCATION" or "Repeat LOCATION" from the annotation popup menu.
To remove an annotation, swipe or left-click over the annotation:
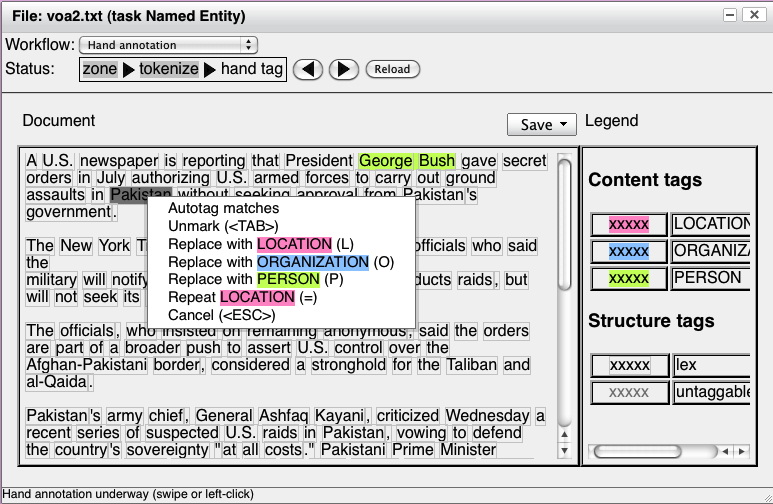
A swipe will select a specific region; a left-click will select the
region corresponding to the annotation under the click.
From the menu, select "Unmark", or press the <tab> key. Any
annotation that overlaps the selected area will be removed.
To modify an annotation, swipe or left-click the text span you want
to be annotated. From the menu, select a new annotation. All
annotations overlapping the selected text span will be removed, and the
new annotation will be added for just the selected text span.
You'll notice, above, that when you select an already-annotated span
of text, the popup menu contains not just the options to replace or
remove, but also to "Autotag matches". If you select this option, all
the eligible spans in the text which are not yet marked and match the
existing span will be assigned the same annotation label as the
already-annotated span. If you select a span of text which covers
multiple annotated segments, the autotag process will be applied to
each annotated segment. Autotagging has the following properties:
Only a subset of workspace
actions are available in the MAT UI; you can view the contents of
folders and apply operations to individual documents in workspace
folders, but you can't create workspaces, import documents into the
workspace, or apply folder-level operations.
When you select "File -> Open workspace..." you'll be presented
with the following dialog:
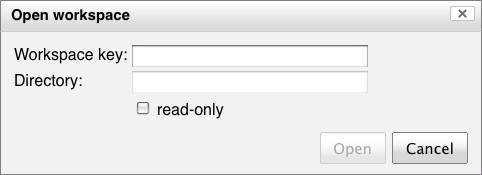
The first step is to copy the workspace key from the MATWeb command loop. Once the workspace key is
inserted into the "Workspace key" field, you may press the <tab>
key in that field to enable the "Directory" field; once the pathname of
the workspace directory is entered in the "Directory" field, you may
press the <tab> key in that field to enable the "Open" button:

If you only want to view the workspace, and don't plan on perfoming
any operations, select the "read-only" checkbox.
Note: the value of the
"Directory" field depends on how the MATWeb
server was started. By default, it should be a full pathname, as shown.
However, it MATWeb was started up with any
--workspace_container_directory options, this value must be a partial pathname, representing a
subdirectory of one of the workspace container directories. This
limitation is intended to provide a measure of security when MATWeb is
being used as a persistent service.
Initially, the workspace window looks like this:
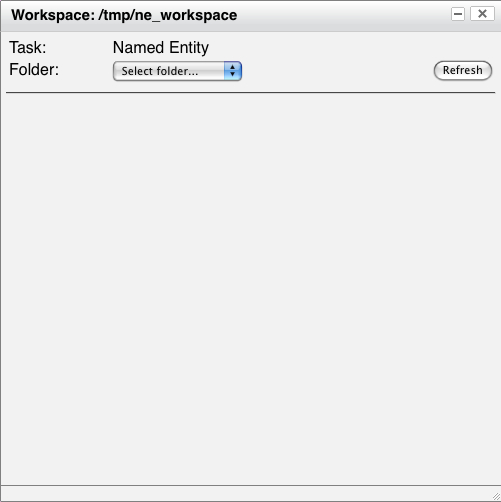
This window can be closed, hidden, moved and resized in the same way
the document window can.
The title bar shows the pathname of the workspace. Immediately below
the title bar, the task associated with the workspace is shown, and
immediately below that, you see a drop-down menu which allows you to
select a workspace folder. Immediately to the right of the folder menu
is a "Refresh" button; you may press this to resynchronize the
workspace view with the workspace itself if you ever perform workspace
actions on the command-line while the workspace window is open.
If you select a folder, you'll see a scrollable list of files in
that folder, or "Folder is empty" if the folder is empty:
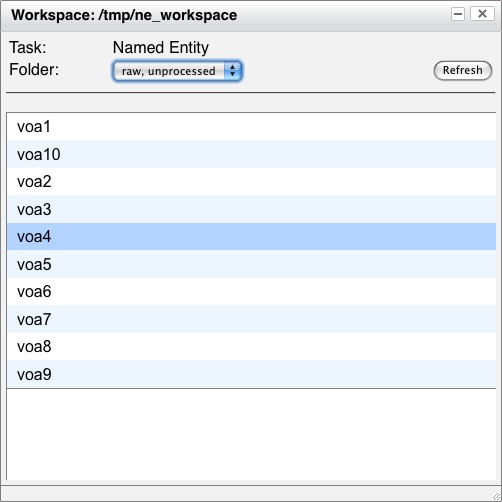
If you click once on an element in the file list, it will open a
workspace mode document window.
The workspace mode document window is very similar to the file mode
document window:
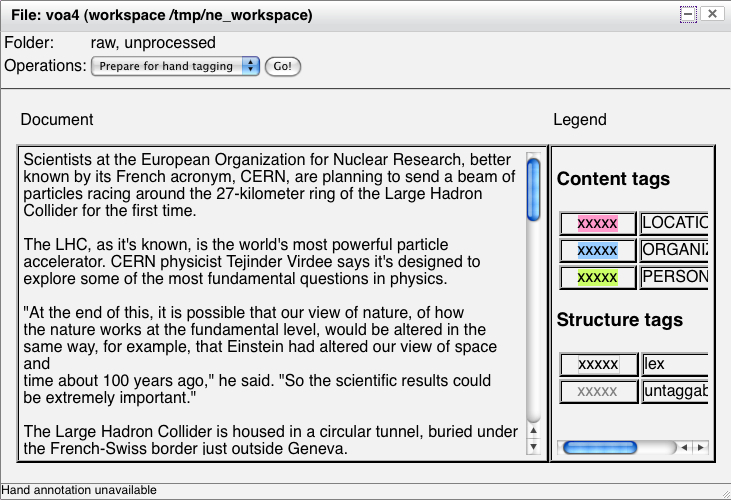
It can be closed, hidden, moved and resized in the same way the
document window can. It, too, has a document pane, a tag legend,
and a tag status line at the bottom. However, it differs otherwise.
The title bar contains the basename of the file, along with the
workspace it's drawn from in parentheses. Immediately below the title
bar is the current folder, and immediately below that a drop-down menu
of operations available in this folder, and to the right of this
drop-down menu, a "Go!" button which performs the selected operation.
There are no options to save the document to the client desktop, no
workflow, and no steps.
When you press the "Go!" button, the workspace applies the selected
operation to the selected document, and as a result, the document might
change folders. For instance, in the example above, the result of
pressing the "Go!" button looks like this:
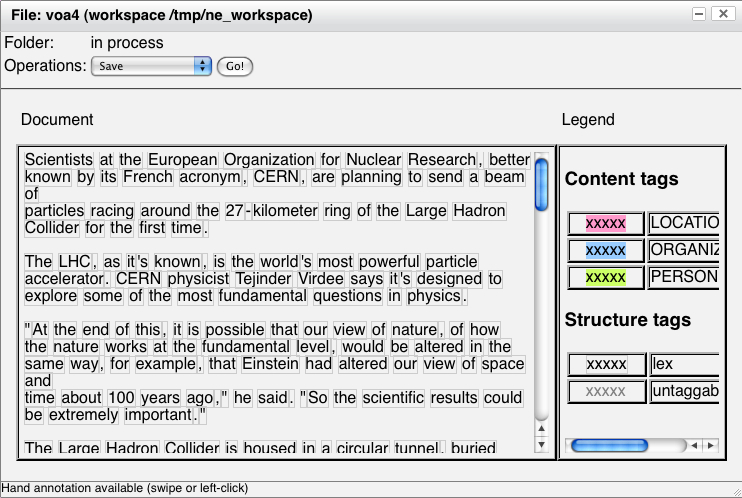
The document is now in the "in process" folder, and hand annotation
is available. If the document moved from one folder to another, and
either of the affected folders is displayed in the workspace window,
the workspace window will be updated.
Annotating the document is identical to the annotating a
document in file mode.
Finally, if you've happened to shut down and restart the Web server
while the UI is open, you might be in a situation where you want to
continue working, but the Web server has presented a new workspace key.
If you select "File -> Update workspace key", you'll be presented
with the following dialog:

If you enter the new workspace key and press the "OK" button, the UI
will now be able to continue to interact with the workspaces via the UI
without restarting.